Friday, June 16, 2017

Breakfast during Mango Season

আম দিয়ে দুধ-ভাত
Rice with mango-milk
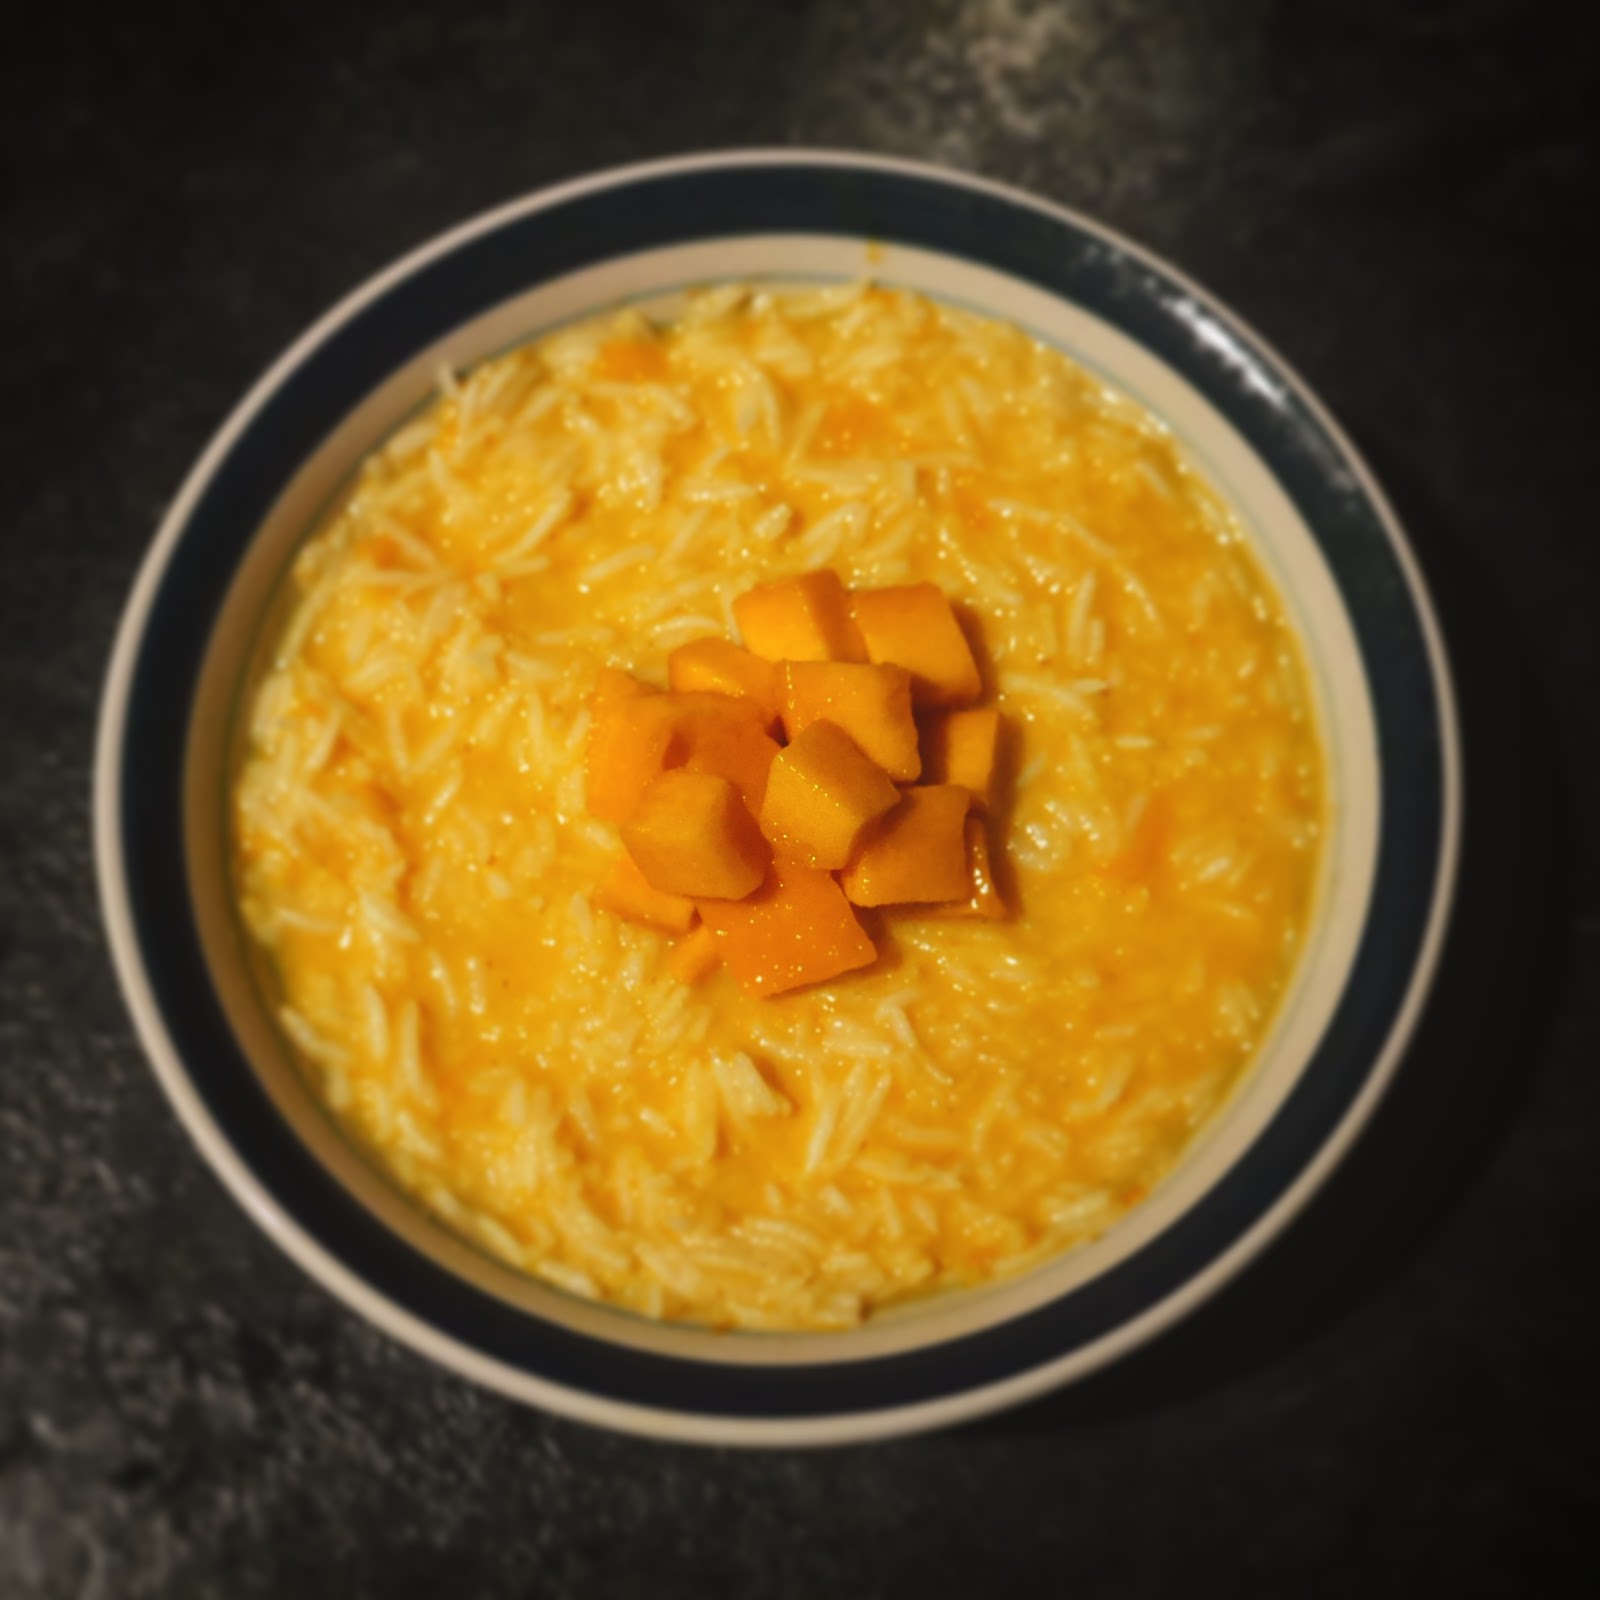

Rice and mango-milk, topped with mango
What's not to like? :) 

It's mango season! In Bangladesh this means a glut of mangoes everywhere. Their sheer number has people scrambling to find ways to use them up. On top of cooking, pickling and drying, making mango-milk is another common way we at the fruit growing up. We mixed the pulped flesh of a sweet, ripe mango into hot milk, creating a warm alternative to the mango lassi. Sometimes, we would pour this onto rice - the result of a family habit of pouring any kind of milk onto rice. In fact, whenever we didn't like the food on offer for a particular meal, rice with milk was the go-to substitute dish for the kids in my generation. 

Of course, unconventional meal replacements aside, this dish makes a great breakfast. I also have it for seheri (the pre-fasting meal during Ramadan), as it makes a nice change from cereal. Folks who've had Thai mango with sticky rice will be familiar with the flavour and textures. To make this, you want mangoes that almost melt when crushed, rather than those with firm, springy flesh. In the UK, safe bets are South Asian mangoes sold as Alphonso or Kesar. When fresh mangoes aren't in season, tinned mangoes are another option. The recipe below makes a full "meal" for one, or serves two to three as a snack.

Ingredients:
  • 1.00 small South Asian mango (around 175.00g whole, unpeeled)
  • 150.00 g cooked rice
  • 100.00 ml whole milk
  • Sugar, to taste

Method:
  • Heat the milk in the microwave for a minute
  • While the milk is heating, peel and slice the mango
  • Crush the flesh to form a pulp, and remove any overly large pieces of fibre 
  • Mix the mango into the milk, and taste for sweetness. Add sugar if desired
  • Place the cooked rice in a bowl. Pour in the mango-milk and mix
  • Serve while warm

Additional Info
If you want something a bit richer, heat and thicken the milk on the hob before adding the mango. For a different flavour, swap the mango for banana, something we would also do quite commonly in our family. 

Tuesday, May 9, 2017

Review: Nopi

Impressive cooking with a big price tag


Grilled trout with labneh, yuzu kosho and a colourful radish.
A simple but delicious small plate at Nopi


I discovered Nopi the cookbook before Nopi the restaurant. The book, a birthday present, was my first of complex restaurant recipes. I've spent multiple weekends putting it to use, embarking on culinary adventures of exciting flavours. I learned how to retrofit familiar ingredients in service of the venue's cooking style, which combines the Middle Eastern and Southeast Asian, to create new-to-me flavours. Having enjoyed the recipes so much, I’ve now made multiple trips to eat at the actual establishment. I'm surprised to say that the hype (in my own mind of course!), was indeed worth it. 


Wednesday, May 3, 2017

Meaty Comfort Food

গোরুর কিমা 
Lime & Coriander Beef Keema

Beef keema 


Growing up, keema - or minced meat - was only meant for kebabs. I use it in my own recipe for beef kebab, as do the other Bangladeshis I know. But over the years, especially since moving to the UK, I've realised many Asian families, Bangladeshi or otherwise, cook their mince directly.The flavours from the various iterations I've eaten have been simple and recognisable. As such, I've always known that I could re-create the recipe myself from scratch - and indeed I have, if you've seen my Instagram feed. But I wanted the actual recipe I posted on the blog to be traditional, and so I turned to one of my friends for help. He has a go-to keema dish that he uses for dinner parties, and it always goes down a storm. The original recipe comes from his mom, traveling from Pakistan via a few other countries, and I've mostly kept it intact below. 

My friend's mom cooks her keema with peas and potatoes, but my friend usually skips these (too much effort, according to him!). I've added the peas back, because vegetables, but not the potatoes, because carbs. I've made one ingredient swap, from tomato paste to fresh tomatoes, as I never have the former in my kitchen. I've added a cinnamon stick, a personal bias: I never caramelise onions for a curry without one these days! Finally, I've also added lime and fresh coriander - something I've also seen others do - because I like the flavour. I prefer to use lean mince for this dish, but work with whatever you prefer or have at hand. This recipe produces a dish that is very similar to my/my mother's recipe for beef curry. This doesn't come as a surprise - most of the spices used in both recipes are the same. What's worth a mention though is that mince is much quicker to cook, so you're looking at a much shorter period in the kitchen with the below. 


Sunday, April 9, 2017

Cholar Daal and Eggs for Breakfast

ছোলার ডাল

Cholar daal


Cholar daal
Topped wit a fried egg, coriander and black pepper


It's taken me a while, but I finally have most of my family's recipes for daal written down. We usually serve them simply - but this cholar daal is a little unusual. Spiced and cooked like meat, I've been told it's something of a special occasion daal in Bangladesh. However, in my extended family it's always been breakfast food. We eat it with eggs cooked various ways and flatbreads, or sometimes with vegetables and beef curry. As a child, I used the spicing to mask the taste of egg, which I hated. To be fair, even now the eggs in my life come drenched with Hollandaise, filled with cheese or pimped with smoked salmon, so I guess some things never change. 

This dish makes a great accompaniment at a heavier breakfast or brunch, whether it be with eggs, veg or meat. It takes a while to cook, so I'd recommend tackling it the night before you intend to serve it. In the morning, all that's left to do is heat it up (this works well, like reheating curry), make the eggs and bake your flatbreads (which can also be pre-formed). In my book, this is something to attempt for a leisurely weekend brunch rather than during a weekday cooking session. I promise the other daals (coming soon, i.e. whenever I get a craving for them) are simpler and cook quicker. 

Cholar daal soaking

Finally, a quick note on language and ingredients. "Chola" in Bengali means chickpea, and "daal" - translating vaguely - means lentil. Cholar daal together means chickpea lentil, although I realise chickpeas aren't really lentils. The chickpeas you will need for this dish are dried, skinned, and split. They're commonly stocked in Asian food stores. In the UK, they're usually sold under Indian brands and labelled "chana dal". If you're familiar with dried chickpeas you should have no trouble identifying them, but use the photo above to help as well. 


Sunday, April 2, 2017

Delhi Food Memories

সবজি দিয়ে পনির 

Paneer with Carrots and Peas


Paneer with carrots and peas for a nice weekend lunch


I've spent quite a while attempting to recreate a fantastic paneer and mixed vegetable dish our housekeeper in Delhi used to cook. I've gone through various iterations - I added paneer to my standard Bangladeshi vegetable recipe (fail); and then I curried my vegetables like my meat, adding paneer at the end (another fail). What's finally been successful is this tweak of Kaushy Patel's recipe for mattar panner in the GuardianI trust her cooking from my meals at Prasad, which is why I decided to look up her recipes after my failures

To her recipe I've added carrot and toned down the spices, almost halving the ginger and powdered coriander. I've also done away with the deep frying - because who does that at home? Our housekeeper's dish was a lightly-spiced everyday affair, so I've altered Patel's recipe to aline it to that philosophy. Patel does have a paneer and mixed vegetable recipe herself, but that is so heavily spiced that I'm ignoring it completely. The results below aren't exactly the real thing - our housekeeper didn't use tomato as a base - but the dish is satisfying enough that I wanted the recipe written down for future attempts. 


Ingredients:
  • 4.00 cm of ginger
  • 350.00g paneer
  • 400.00g of tinned tomatoes 
  • 2.00 teaspoons powdered chilli
  • 2.00 teaspoons powdered turmeric
  • 2.00 teaspoons powdered coriander
  • 1.00 teaspoon powdered cumin
  • 200.00 g frozen peas
  • 1.00 carrot
  • Salt, to taste
  • Fresh coriander, one handful

Method: 
  • Prep the ingredients first - chop and crush the ginger, finely chop the coriander and cut the paneer and into bite size cubes. Set each ingredient aside separately.
  • Heat some oil in a wok - pouring in enough so that when the panner is added to the pot it is at least partially submerged. Test the oil temperature by adding a cube of paneer - if it begins to sizzle the oil is ready. Make sure to turn the heat down to medium-low before beginning to cook
  • Add the cubes of paneer to the wok, gently turning each cube (I use tongs) as they fry to ensure they are cooked evenly. Remove the paneer cubes from the oil once they've begun to go golden on each side, which should take 3 to 4 minutes. Be careful - the oil will sizzle and jump
  • Open the tinned tomatoes, and stab repeatedly with a knife to break up the flesh. Pour the fruit into the oil and mix, and allow to cook for a minute
  • Follow up by adding the ginger, dry spices, fresh coriander and salt. Mix these ingredients thoroughly into the tomato, and cook on medium low heat for 5 to 8 minutes. The base is unlikely to burn in a non-stick wok, but do stir it a little every minute or so just in case 
  • While the spice base is cooking, take out the peas and leave to soak in water 
  • Boil some water in a kettle
  • Chop up the carrot into bite size pieces
  • Add the carrots to the wok, followed by the paneer. Mix and let cook for a minute, then drain and add the peas
  • Pour in some boiling water to the wok - varying the amount based on how much sauce you want your dish to have. Turn the heat to high, and stir to mix everything together
  • Bring the dish to boil, then turn the heat back down to medium. Partially cover the wok with a lid and leave to cook for 8 minutes
  • Once done, turn off the stove and leave the dish to settle. I usually let the oil come to the surface at this point, and drain or scoop it away 
  • Serve hot with plain boiled rice or flatbreads

Additional Info
If paneer isn't available near you, try this with another squeaky cheese - halloumi - using the same ingredient amounts as above. Halloumi is a lot crumblier than paneer though, so be gentle with it. I've had trouble keeping it together during pre-frying, and I would consider brushing it with some oil and toasting it in an oven next time.